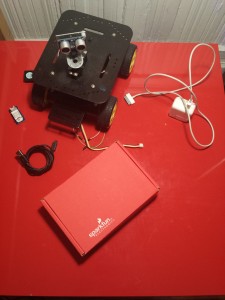
 Finally! Just received my flashy, Ikea-furniture-matching-red Sparkfun box with my weather shield and the electric Imp, which means I should be ready to setup (or at least get up and running) my wireless weather station!
I put together the weather sensors the other day. Pretty straight forward. The only one that would have used a little bit of extra documentation was the rain gauge. “The Datasheet” only says to mount it with the provided screw, but since it’s a tiny screw that would break the plastic housing with the slightest cross wind I decided to use one of the zip ties to further secure the sensor box on the provided support arm. Seems this was not the original intention, but it works. Maybe I should get a power drill and do a better job at mounting this with a bolt and a nut.

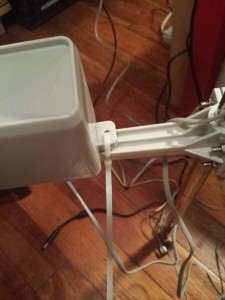 The anemometer is connected to the wind vane and then the wind vane to the weather shield (or to the microcontroller input pins), which allows both sensors to share one RJ11-6 (telephone jack) connector. The rain gauge has its own cable and it’s own RJ11-6 connector. Why the manufacturer chose this type of connector is something I’ll never understand, I guess they were looking for an easy to plug connector of general use, but I’m not aware of any weather “proofness” of this type of connector, so using it for the outdoors seems futile. Anyways, it’s a straight forward connection, with two wires per sensor.
I opened my red box, pulled out all the components, started reading Sparkfun’s hookup instructions and got immediately disappointed. Sparkfun doesn’t include the stackable headers with the shields!!! WTH Sparkfun!? Now I can’t do anything until I order and receive the headers which at $1.50 will be way cheaper than the shipping, of course…. ugh! Solution? Get lots of them waaay cheaper and with free shipping in Amazon. See Sparkfun? That’s what you get for trying to be too cheap.
So. Yeah. I only soldered the RJ11-6 sockets and wrote this post. Boo.
Cheers.